How to Organize Cables and Chargers Neatly: Simple Tips and Tricks
Keeping cables and chargers neatly organized can transform your workspace and home environment. Not only does this prevent damage to your cords, but it also saves time and reduces frustration when you need to find the right charger quickly. Whether you have a tangled mess under your desk or multiple chargers scattered around, these simple strategies will help you achieve a tidy and efficient setup.
Why Organizing Cables and Chargers Matters
Before diving into methods, it’s helpful to understand why cable organization is important:
– Prevents Damage: Tangled cables can wear out faster due to bending and twisting.
– Saves Time: Easily find the right charger or cable without digging through piles.
– Improves Safety: Reduces tripping hazards and prevents overheating from piled cables.
– Enhances Appearance: A clutter-free area looks more inviting and professional.
With these benefits in mind, let’s explore practical steps to organize your cords neatly.
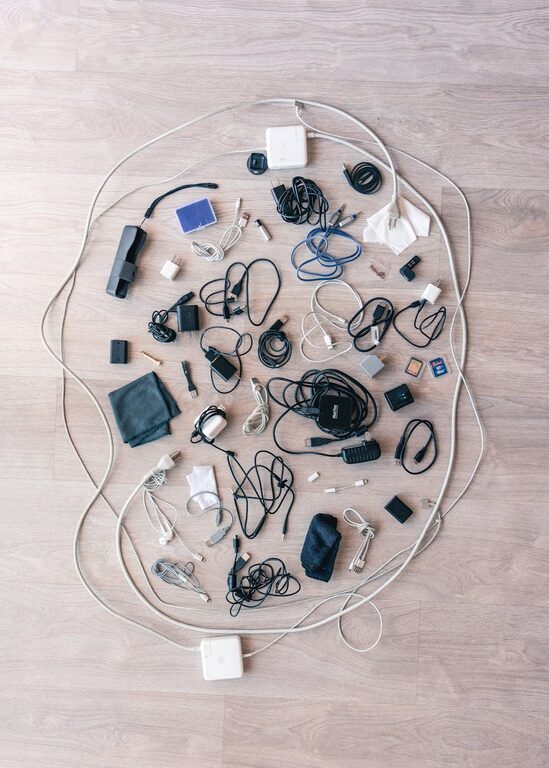
Step 1: Gather and Sort Your Cables
Start by collecting all your cables and chargers in one place. This gives you an overview of what you have.
– Sort by type: Group cables by purpose—phone chargers, laptop cords, USB cables, HDMI, etc.
– Check functionality: Toss or recycle any broken or obsolete cables.
– Identify lengths: Separate long cables from shorter ones to help with storage decisions.
Sorting clears the clutter mentally and physically, making the next steps easier.
Step 2: Use Cable Management Tools
Several affordable and easy-to-use tools help keep cables under control.
Cable Ties and Velcro Straps
– Use reusable Velcro straps to bundle cables without damaging them.
– Twist ties or zip ties are good for permanent or semi-permanent bundling.
– Label each strap to identify cable purpose for quick access.
Cable Organizers and Boxes
– Use cable organizers with separate slots for each cord.
– Cable boxes hide power strips and excess cable length while keeping them ventilated.
– Some organizers come with built-in USB ports to centralize charging.
Clips and Holders
– Adhesive cable clips stick to surfaces and hold cables in place along desks or walls.
– Desk grommets channel cables through holes for neat entry points.
– Magnetic cable holders prevent chargers from falling off desks.
Step 3: Smart Storage Techniques
Coil and Wrap Properly
To avoid damaging cables, coil them in loose loops rather than tight coils or knots. The over-under method is especially effective as it prevents twisting.
Label Each Cable
Use tags or tape to mark each cable’s device or function, so you don’t waste time guessing.
Designate Charging Stations
Dedicate a specific area—like a drawer or shelf—for all chargers and cables. Use small bins or trays inside drawers to keep them separated.
Use Vertical Space
Hang cables on hooks or pegboards to free up desk and drawer space.
Step 4: Organize Power Strips and Adapters
Power strips often add to cord chaos. Try these tips:
– Mount power strips under your desk or on the wall for easy access.
– Wrap excess cable length with Velcro straps.
– Use cable sleeves to bundle multiple cables leading to power strips.
Step 5: Maintain Your System
Cable organization is an ongoing task.
– Periodically check your cables for wear or dust.
– Re-sort and declutter unused cords every few months.
– Make it a habit to coil and store cables after use.
Bonus Tips for Specific Areas
Desk Setup
– Use cable trays under desks for hidden routing.
– Attach clips to the back edge of desks to guide charging cables to devices.
Travel Organization
– Use small pouches or cable organizers designed for travel.
– Keep only necessary cables on hand to reduce bulk.
Home Entertainment
– Label HDMI and audio cables with their connected devices.
– Use color-coded ties for easier identification.
Conclusion
Organizing cables and chargers doesn’t have to be overwhelming. By sorting your cables, using the right tools, and adopting smart storage habits, you can create a neat and functional space. Whether at home or in the office, these tips will help you maintain order and make technology use hassle-free.
Start today by tidying one area, and enjoy the clarity and convenience that comes from a well-organized setup!